Search This Blog

Showing posts with label Cake Basics. Show all posts

Sunday, December 2, 2012

#172 Artiste - 40th Anniversary Cake

Hi everyone! Yesterday was my parent's 40th Anniversary celebration and I wanted to share with you the cake I made for them.
The rolled flowers were cut from the Artiste cartridge, as well as the heart in the cake topper and some of the snowflakes.
The other cartridge I used for the snowflakes is Cake Basics. I cut the snowflakes from fondant using my Cricut Cake machine.
For the 40 on the cake topper, I used the font from the Lovely Floral cartridge.
All of the paper flowers were cut from Recollections white card stock, them sprayed with various colours of Lindy's Stamp Gang sprays.
I am really happy with how it turned out!

Thursday, November 10, 2011

#133 Nate's ABCs - Circle Sketch Challenge

Hi everyone! Wow - it has been a while since I have posted! I have created a few projects while I have been absent from blogging, so stay tuned for some of those projects, mostly scrapbook layouts!


Today I finished up this card for the Cricut Circle magazine challenge from this month. The challenge was to use the sketch featured in the magazine to create a project of our own. Here is my take on their sketch:


For my card, I used my Imagine along with the Imagine More cartridge for all of the colours and patterns. The cricut cartridges and cuts I used are:

Nate's ABC's - Boy and puppies scene (cut at 4")


Cake Basics - scalloped circle (cut at 4") and heart (cut at 3.5")


I used my markers for faux stitching and accents and popped up the boy scene with foam squares. Both are by Stampin' Up!.


The chocolate grosgrain ribbon is by Close to My Heart.


Thank you for stopping by to look at my creation. Hope you like it!


Thursday, August 11, 2011

#100 Cake Basics - 60th Birthday Cake!


Hi everyone! I thought I would share with you the cake my sister Leila and I made for my Mom on her 60th birthday last weekend. Leila made the cake and covered it with fondant (it was zucchini chocolate cake - the yummiest kind EVER).

I cut out the flowers (2") and numbers (3") from homemade marshmallow fondant on my Cricut Cake using the Cake Basics cartridge.


Leila got the inspiration for the design from a cake she saw on the internet we went from there. We are very proud of how it turned out!


Did you see have now featured 100 cartridges this year? As some of you may recall, my New Year's resolution was to make a post for each of my Cricut cartridges this year. It seems I am falling behind though because I am pretty sure I have surpassed the 200 mark and the year is well over half finished! I will not give up though - I plan to do a lot more creating in the next few months. Summer has just been crazy busy!


Wednesday, November 17, 2010

Cricut Circle Challenge - Thank You Card


Hi everyone! The weekly challenge at the Cricut Circle blog this week was to create a Thank You card using the following colors:

We also need to use at least three Cricut cuts on our project. For my card I used the Forever Young cartridge for the girl and the flower, Alphalicious for the "Thank You" and Cake Basics for the border cut.

I am disappointed with how this scan came out because the large flower and the accent on her dress are actually orange but look white here. I have misplaced my camera so when I find it, I will retake the photo and edit the post.

Hope you like it!

Wednesday, October 6, 2010

Hannah Montana Birthday Cake!


Hi everyone, I thought I would share the Hannah Montana cake I made for my daughter who just turned 7 years old! I used my Cricut Cake machine with the Hannah Montana cartridge to cut out all of the fondant shapes. Even the stars attached to the wire are made of fondant! She was so excited about it, and so was I! It was my first tiered cake and I love how it turned out! I am entering this in the challenge this week at Fantabulous Cricut where the task was to create something "delicious" using a cricut cut somewhere on your project.

Tuesday, June 22, 2010

Bon Voyage card


Hi everyone! I made this card for the challenge this week over at the Cricut Cardz Challenge Blog - http://cricutcardzchallenge.blogspot.com/

The challenge was to create a vacation themed card. This was my entry. I used the Gypsy Wanderings for the boat, Give a Hoot for the waves and Cake Basics for the "Bon Voyage" sentiment. Hope you like it!

Friday, June 18, 2010

Dad Cookie Pail - Throwback Thursday Challenge


Hi everyone! For Emma's challenge this week at http://www.creativetimeforme.com/ she wanted us to make or alter a 3D item using the Paper Doll Dress Up cartridge. I was so excited when I bought this cartridge and then it sat on my shelf for over a year after that. I finally started using it when I discovered the Peachy Keen face stamps - they are so cute!


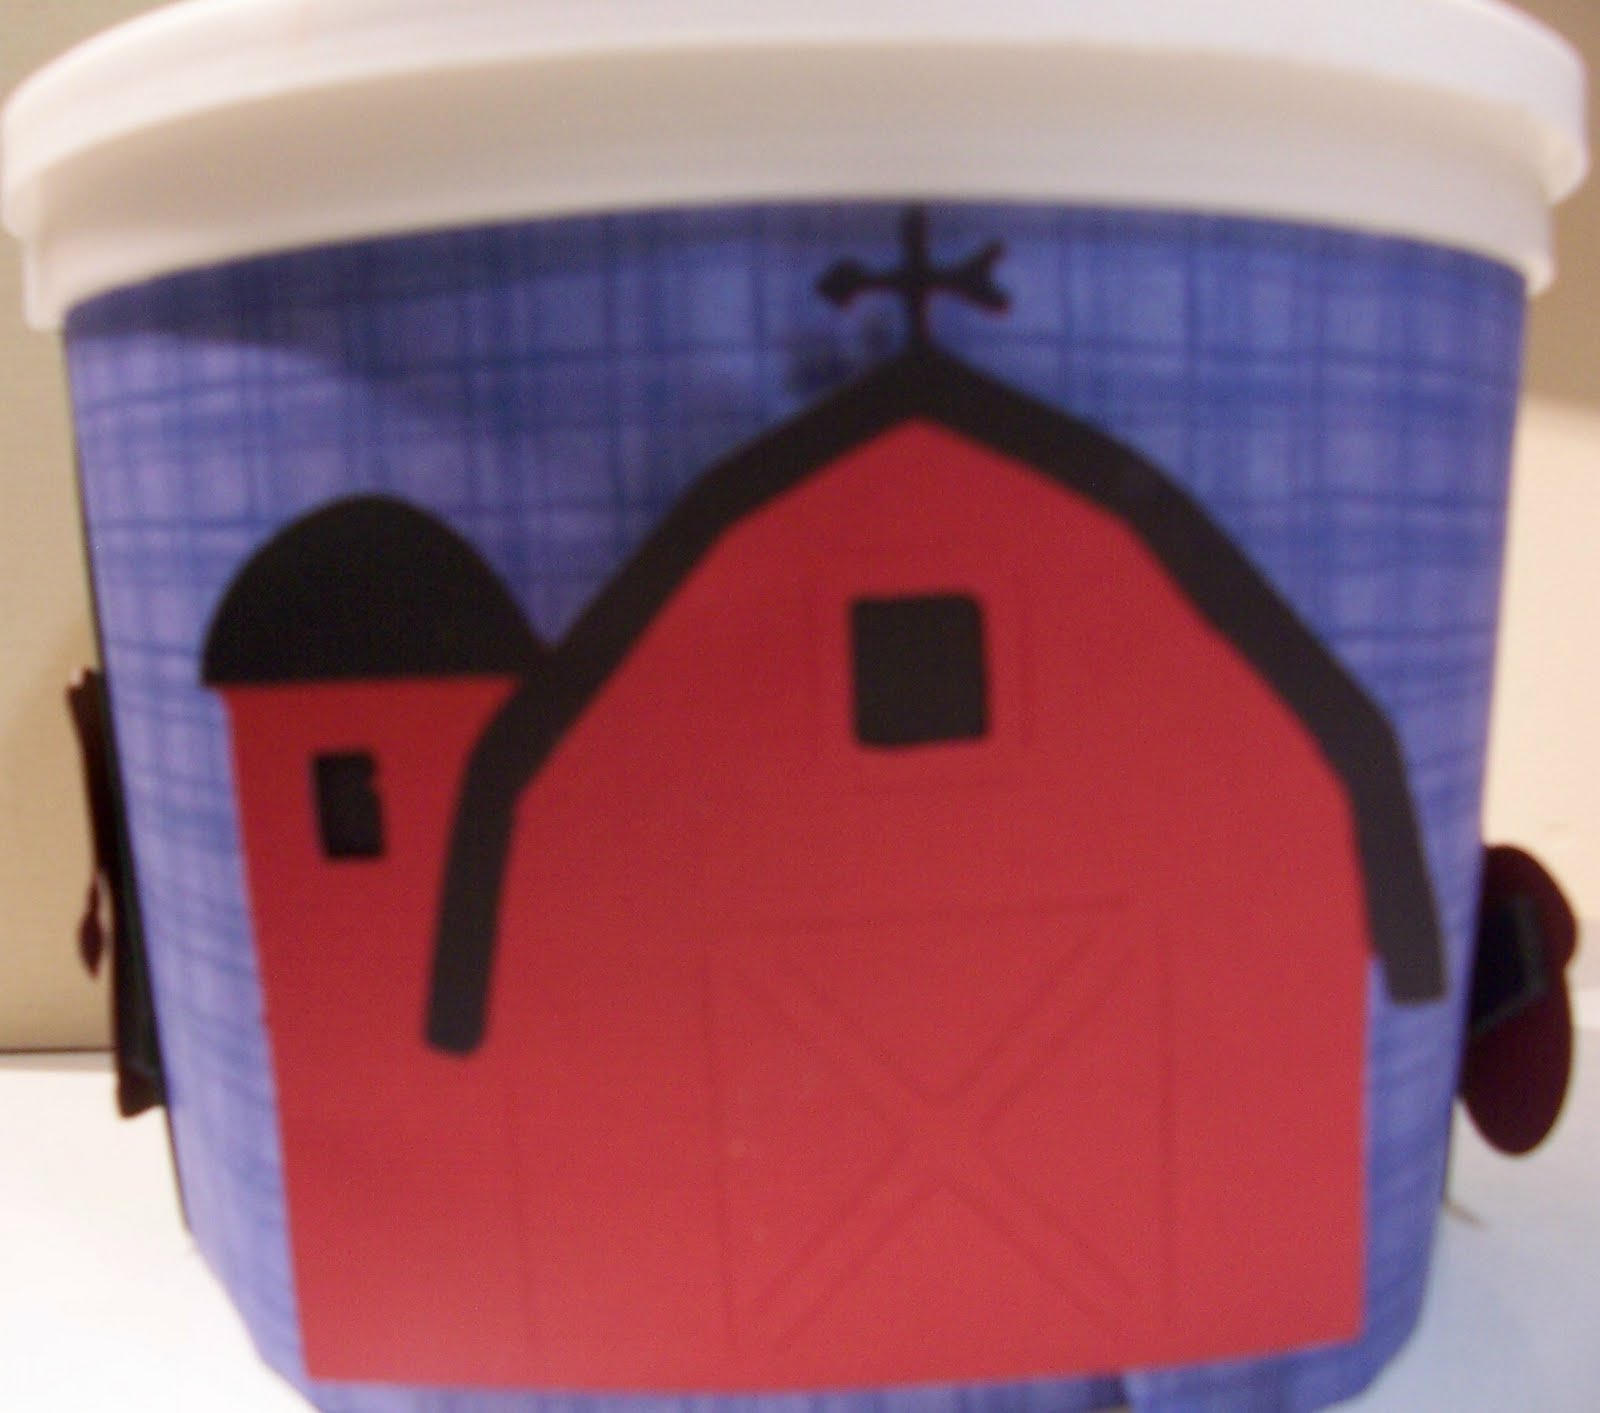
I was planning on baking my Dad some peanut butter cookies (his very favorite) for Father's Day then thought I could cover an ice cream pail to put them in. He is a farmer so I decided to follow that theme.


I used the Paper Doll Dress Up cartridge to cut out the man, his shirt, pants, hair and boots. I also used that cartridge for the cow. My Dad doesn't wear a cowboy hat so I had to get his baseball cap from Everyday Paper Dolls as well as the barn and the tractor. Hope this is ok! I used the Basic Cakes cartridge for the font on the lid of the pail.


Hope you like it! I know my Dad will at least love the cookies! He thinks I am obsessed with paper crafting because they didn't send me to kindergarten. HAHA.

Wednesday, May 5, 2010

My First Cricut Cake!!!


My new Cricut Cake arrived in the mail - an anniversary present from my wonderful husband. Aren't I lucky? I couldn't wait to try it out! I baked a two-layer cake last night and iced it with buttercream icing. In the morning I looked up a recipe for marshmallow fondant and didn't realize I would have to refrigerate it for awhile before I put it on the the cake so that delayed my plans for awhile.
After supper I rolled out the fondant and put it on the cake - I never thought it would be so easy to do!

For the decorations I used the precoloured rolled fondant by Wilton that came with the machine bundle. It took a bit of trial and error but I think it turned out alright - with practice I'm sure I'll get better! I had to roll the fondant pretty thin, then after it was cut put it in the freezer for a few seconds to make it a little sturdier to transfer to the cake.


I had so much fun and can't wait to try some more! I think sugar cookies would be a lot of fun!