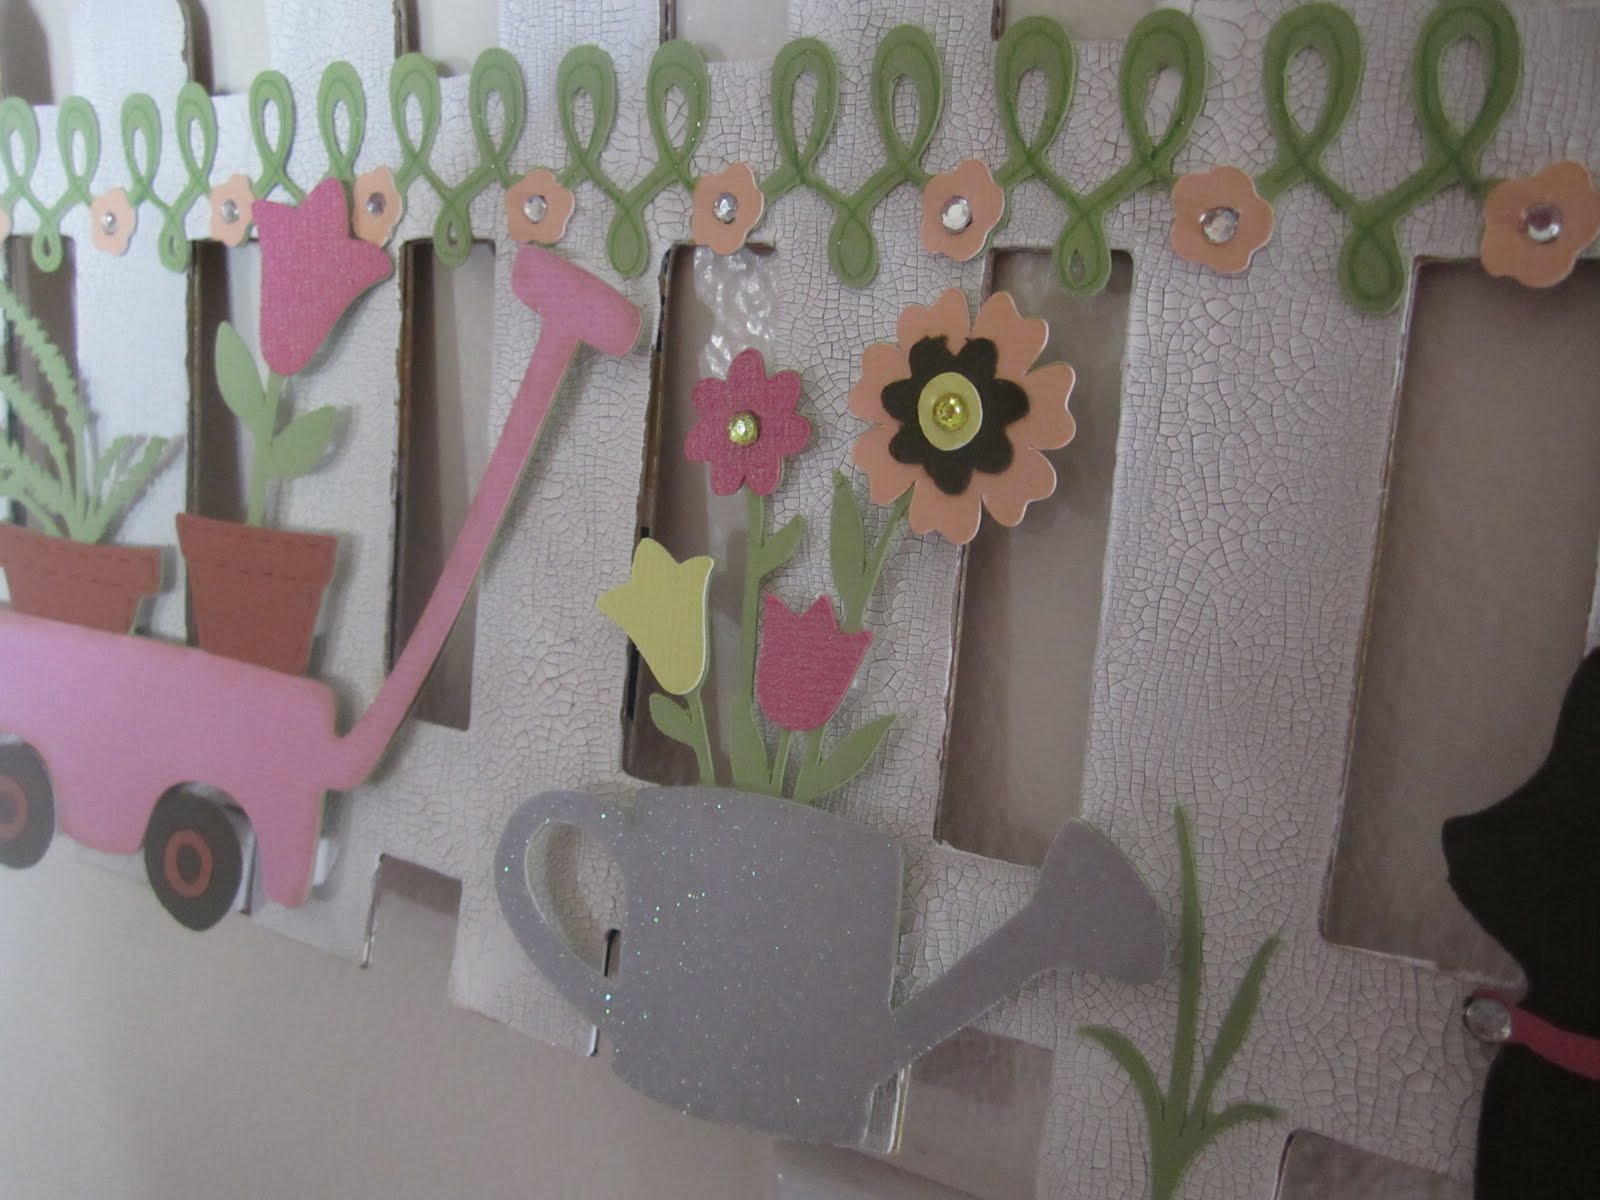
Hi everyone! I am still not making many posts on my blog but I have been doing some crafting in between soccer games, school functions, swimming lessons and piano with the kids! This is a Welcome sign I created for one of the Cricut Circle Magazine challenges this month. For this challenge we were asked to use one of the May Magazine projects for inspiration to create our own project. I chose to use Aphra Bolyer's welcome sign for inspiration for my project. Her sign was shaped like a gate and had flowers and the word "welcome" on the front of it. My plan originally was to create something very similar to her project, I was just going to use the fence instead of the gate, but the ideas started flowing and I came up with this instead!


The base for the fence was cut twice from a cereal box to create two layers, giving it added support. The plaque was cut from heavier chipboard. I found a large piece the the back of one of my child's floor colouring pads. The fence was painted with Picket Fence Tim Holtz Distress crackle paint. The plaque was covered in flocked patterned paper. The swirls are fuzzy!
Here are the cartridges, cuts and measurements I used on my sign:
Sentimentals - plaque shape (cut at 14"), scalloped circle to create large flowers (cut at 2" real dial size)
My World - fence (two welded together cut at 5.5")
Nursery Rhyme - "WELCOME" (cut at 2")
Kate's ABCs - wagon (cut at 4"), watering can (cut at 3.5"), cat (cut at 3")
Elegant Cakes - vine border (cut at 1")

The three shapes along the bottom were attached to the fence using 3D foam squares. I added some I-Rock bling here and there for a little something extra.

I had so much fun creating all of the flowers on my project! Each larger flower was made using 8 - 2" scalloped circles. I inked all of the edges and spritzed with water to make the cardstock easier to manipulate. The circles were stacked then attached together through the center with a brad. One circle at a time was the scrunched up towards the center to create the petals.
Each rolled flower was created from circles that I cut by hand at around 3". I cut the circle into a spiral, rolled it tightly and glued the end to the bottom - this one's addicting! :-)
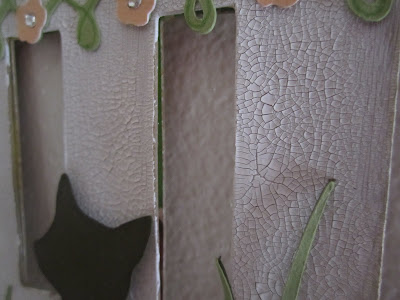
Here's a close up of the crackle paint on the fence - cool, right?
Well, I think that's it. Hope you like it! If you have any questions on my project, please let me know in a comment and I will get back to you! Thanks for coming by!


 Hi everyone! The monthly challenge at the Cricut Circle blog for September was to create a project with a window element. The new Close to My Heart Cricut cartridge, Art Philosophy, features an assortment of window cards so I chose to use one of them for my card.
 The cartridges / cuts I used are: